Having just had a quick chat about the importance of learning from failure I was reminded of this old tweet from Kat. Which in turn reminded me of one of my favourite ways of celebrating learning from failure — Failure Swap Shops!
Luke Williams came up with the format, and I first saw him facilitate a session at BarCamp Bournemouth about ten years ago. I’ve run it many times since with clients and at events and it’s always been informative and fun!
So — what is a Failure Swap Shop?
It’s two rules and four steps.
The Two Rules
- We’re all friends.
- Only share the lessons learned.
They’re both really important. We’re sharing failures in the group — so the group has to trust each other. We want the space to be safe and sharing failures in public often isn’t — so we only share the lessons learned.
Note that rule 2 only works if rule 1 is true!
If you’re happy with the two rules then it’s time to ask for volunteers to run through the four steps.
The Four Steps
- Hi, my name is NAME and I failed
- EVERYBODY CHEERS
- Explain your failure
- Explain the lesson learned.
That’s it.
Just get up. Admit you failed. Get some positive feedback — the cheering is awesome. Share your failure. Share the thing you learned.
Everybody has failed. Everybody has learned from those failures. Sharing that is a powerful, and usually fun, experience.
You don’t need a slide deck to run a Failure Swapshop — but if you want one feel free to use the one I used at a ProductCamp a few years ago.
Some Facilitation Tips
This should be enough to get you up and running. Here are a few more tips I’ve accumulated over the years I’ve facilitating these sessions:
In client and team settings I don’t even attempt a session until I’m sure the “all friends here” rule will pass. This is an exercise that can go very poorly if people share the failures rather than the learnings. Consider a safety check first if you’re even the slightest bit worried. This is less of a concern in public contexts where folk will fairly naturally self-censor.
Group size: I’ve run it with everything from about 7-40 people. It actually scales nicely, but larger the group the less interesting the stories are likely to be. About 10-20 people works best in my experience.
Prep: If you’re not using the deck write the rules & steps out first. That way you can’t forget them, folk have a reminder in the room for what they are, and you can point to ’em if folk miss them.
Length: Somewhere between 20m and 40m seems to work best.
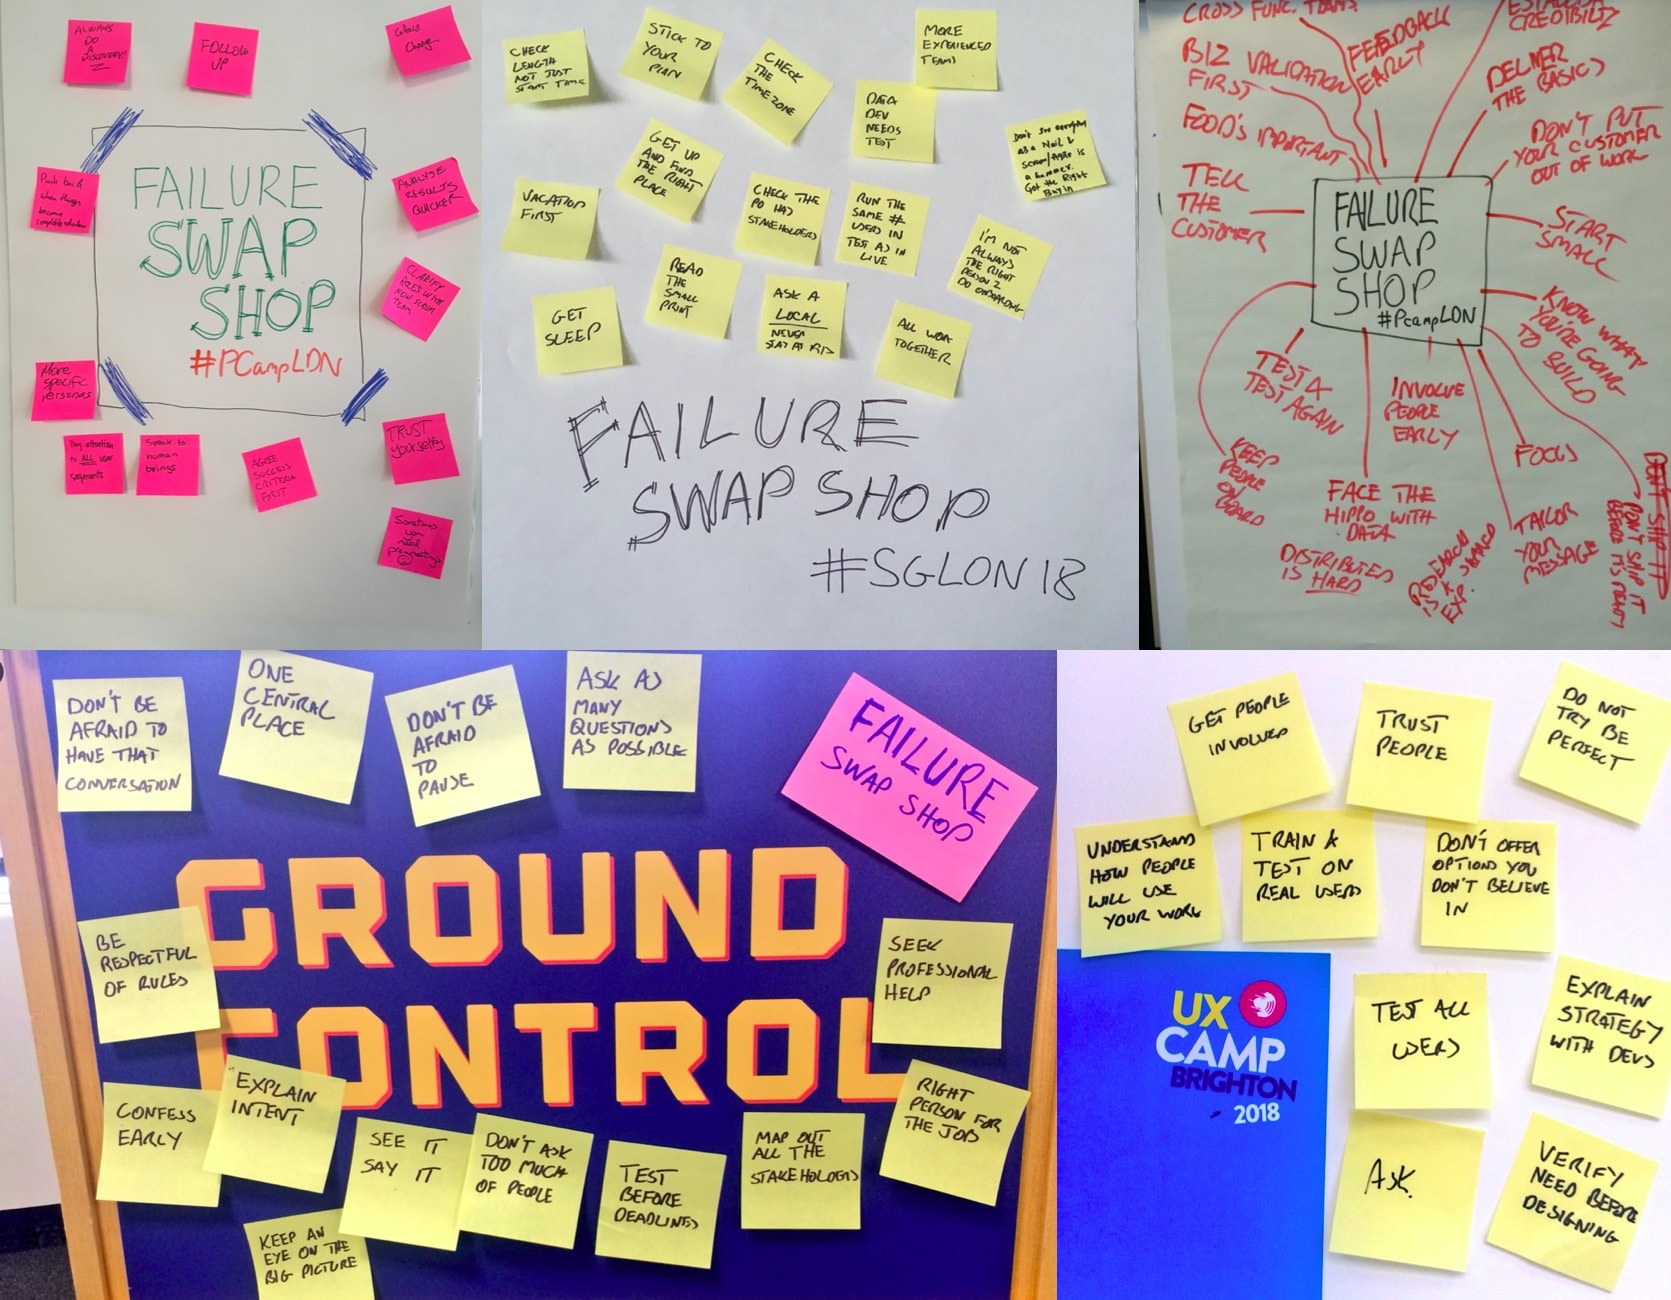
I also like collecting summaries of the learnings on post-it notes. So have some post-its and sharpies to hand. I’ve found writing down the lessons learned really useful — since it helps folk articulate the lesson clearly.
Kick off with the question “Has anybody here never failed?”. Nobody will put their hand up. You can use this later.
Emphasise the “all friends here” and “only share learnings” (slide 4 in the deck). If you’re running it at a live event keep an eye out for folk videoing with their phones. It’s such an automatic activity for some people they can forget.
When I first read through and explain the four steps (slides 6-9 in the deck) I have my own story prepared. This is useful for setting context and direction for the rest of the session. It helps frame the kind of story to expect, the time spent, and gives an example of sharing the learning.
The first time through when everybody cheers — always stop ’em and make them do it again but louder. The cheering really makes a different.
Finish by writing down the lesson learned on a post-it note and sticking it on the wall.
Ask for volunteers. “Has anybody got a failure they would like to share?” is the prompt I use.
I try, where possible, to prime one person I know before the session so there is one volunteer at the start with a story. Then you’ve have two stories (my example story + primed volunteer’s story) to get things flowing.
If you don’t get any volunteers you can remind them of the fact that everybody admitted to failing when nobody put their hand up at the start (told you it would be useful). Have another failure story of your own in your back pocket can also help kick things off again.
When they get to the learning try and summarise on the post-it note. Always read back the summary and double check you got their main message. Sometimes with larger groups it’s easier to pass the post-it pad around and get them to come up and stick it on the board.
Thank them for the story and the lesson learned. Stick the post-it on the wall. Encourage a round of applause after each story. Repeat.
At some point the cheering step will flag a little. When it does do some variation of “That was rubbish — let’s try that again” to get people engaged again. The cheer is important.
That’s it.
When there are no more volunteers review all the lessons learned, thank the participants, and ask them to think about ways they can celebrate failure themselves — and the lessons it teaches you.
Go and celebrate learning from failure!
ttfn.